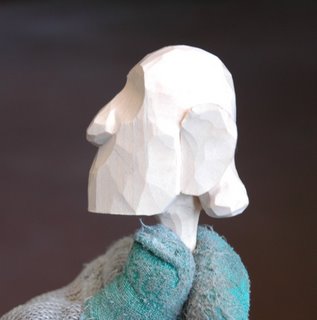
With this post we are going to continue working on the head. I am not going to spend a lot of time explaining each individual cut as I think you are competent enough to handle this yourself. There are plenty of photos for reference and the next post will have even more. Just don't rush the detail and take your time.
One thing before you start.....STROP OR SHARPEN YOUR KNIFE!
Doing fine detail, like around the eyes, ears, and nose, you need a knife that has a very sharp and flexible point. This is why I like Old Reliable. It is extremely sharp when stroped a few times and the point is thin and flexible. Keep your cuts to the minimum. Like chip carving, ideally you want to make one cut and then another to let the chip fall out of it's own accord. Constantly returning to the same area will chew up the wood to the point that it will no longer hold detail. Try not to go directly straight into the wood with the knife. I find that coming in at an angle and then using another angled cut in the opposite direction makes for a cleaner cut. This is because you are not cutting directly across the grain. Naturally, there are exceptions where this is not possible. But this is a rule to follow if at all possible.
To be continued........

Whittleguy.....Most times I just see who shows up one I start carving the head. If I'm after a particular expression I'll have my wife take a few photos of me making faces with the digital camera. That gives me a quick reference to work off of.
ReplyDelete