Hopefully, we can get the photos stored on this site over to the new one before Google changes something.

Tuesday, June 04, 2024
Tuesday, November 28, 2023

Saturday, August 12, 2023

Friday, September 09, 2022
Here's a New One!
.jpg)
I finally finished this one up this morning. It's been setting on my work table for about a month so I'm glad he's moved over to the paint table. There's not much that's new about the figure.....Just another Cowboy bust. However, I was having trouble with the neckerchief, being as it was a bust and the scarf knot usually is on the back of the neck I realized that I carved the cloth without it. Well, setting at the computer the other day doing my normal morning web searches I happen to glance over and see a little
memory stick which had the shape of the missing piece. So, a quick trip down to the shop, a search through the cutoff box, a little carving and some reworking one side of the cloth, the problem was solved. Turned out pretty nice and gave some needed interest to the piece.

Thursday, September 01, 2022
We're Back!

As always, comments welcome.
Friday, August 07, 2020
Here's a New One!
This guy never seems to learn. I can't honestly remember just how many of versions of this piece I've done over the years but there must be at least a dozen or so. Considering this I won't go into any detail about it's construction as I'm sure there are several posts and possibly a video or two of the process. So, I hope you continue to like him as much as I do.
Comments always welcome.

Monday, June 22, 2020
Finally, Some New Pieces!

Thanks for stopping by. As always, comments welcome and appreciated.
Monday, May 25, 2020
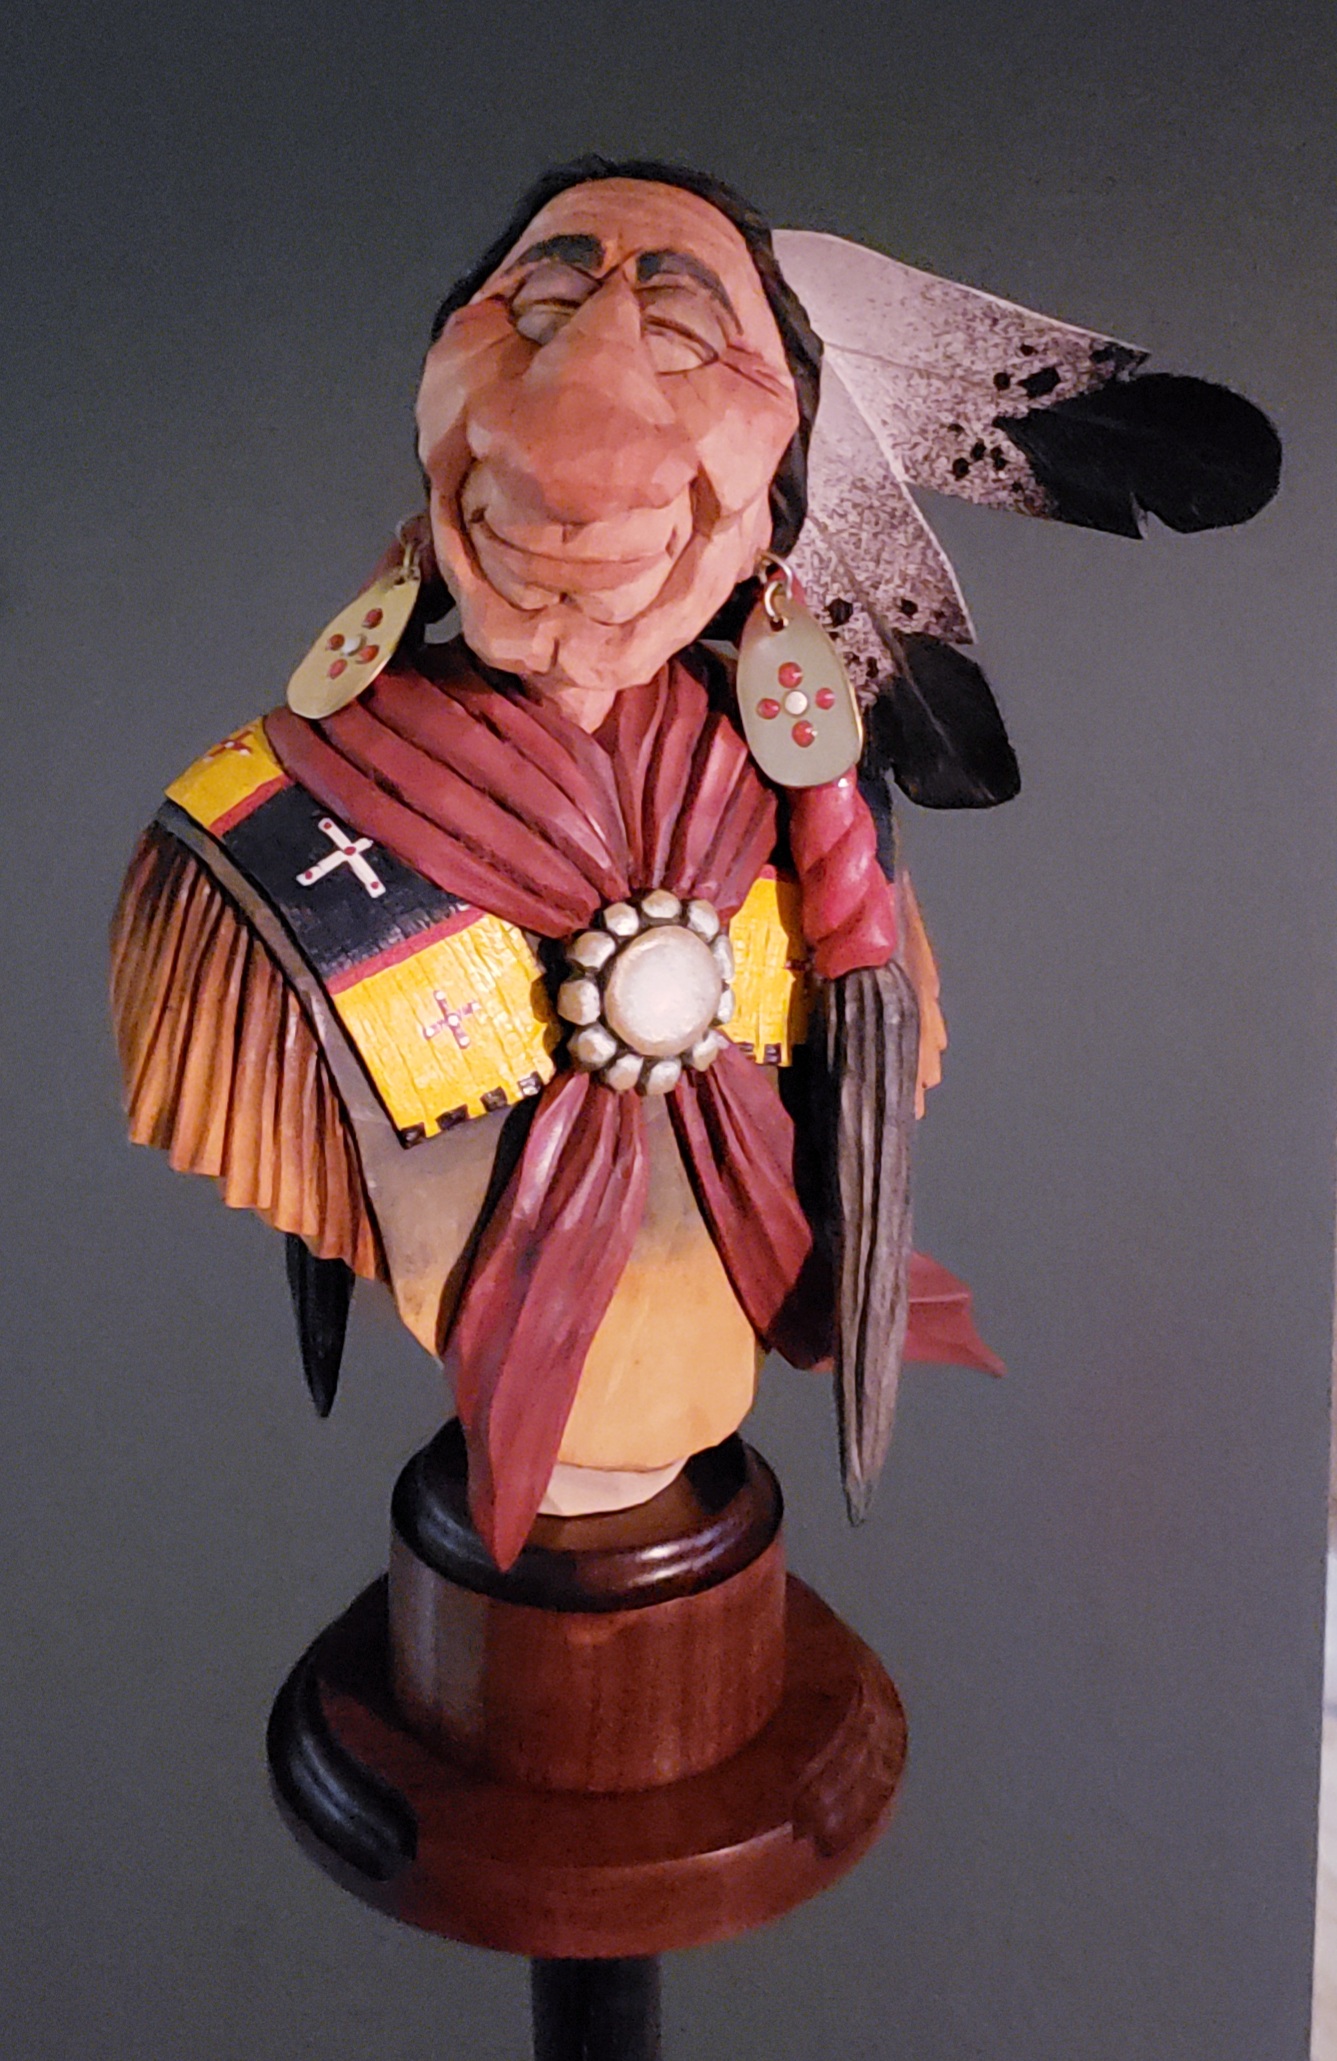
Charlie Yellowhorse

Hope you like him. Comments welcome as always.
Angora Chaps - Again?

In a previous video I made the comment that if at all possible you should never lay your carving tools aside for a long period or you might pay for it once the desire to carve something returns. This fella was a clear case of that. It seemed like he just did not want to exit from that block of Heineke wood! So, if you're kicked back in that recliner while your knives are growing cold and dull, get up and strop them back in shape. There's a figure out there waiting to be brought to life.
Comments welcomed as always.
The Plainsman

I hope you like him and look forward to any comments you might have.
Subscribe to:
Posts (Atom)