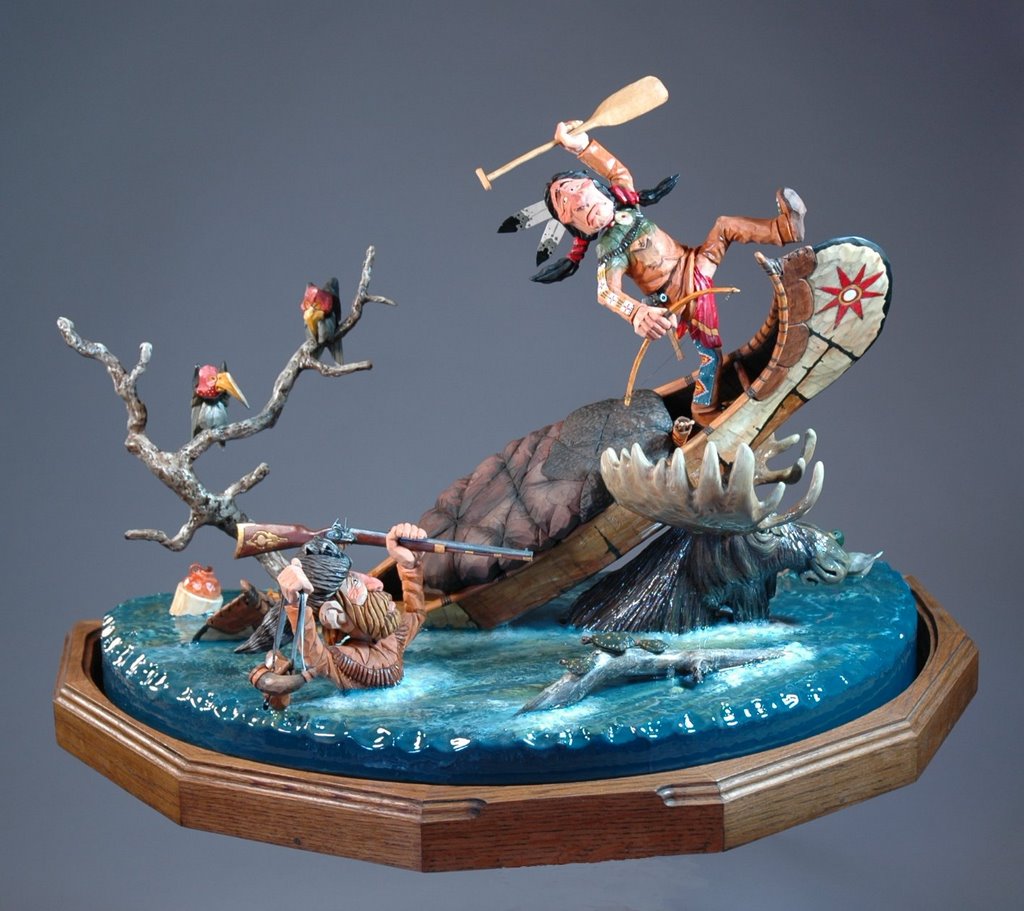
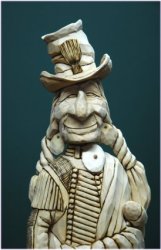
In getting ready for the upcoming Dayton, Ohio Woodcarving Show I just completed this figure for the over 15" category. He measures about 18" without the base. I used a piece of Caprock from the Canyon to tie the base into the theme of the carving. These gypsum deposits run all through canyon and my wife and I picked up a supply while on a trailriding trip with our horses last September. I epoxied a 1/4" bolt into the bottom of his feet after I removed the bolt head. It then runs down through the stone into the base and is bolted on from underneath.
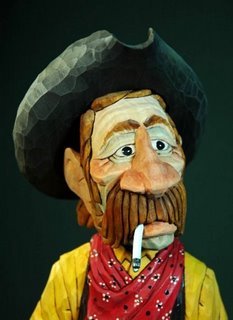
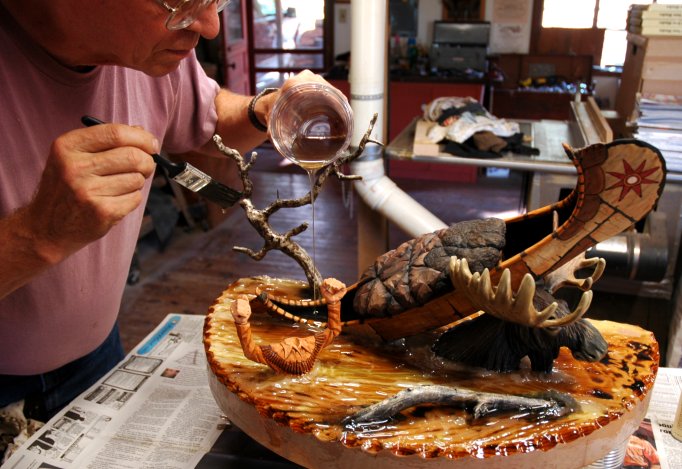
I tried something different with this figure as you can see in the two closeup photos. Once he was painted and varnished I mixed up a little clear epoxy and put a drop on the pupil of each eye. Using a toothpick I carefully created a cornea, or bump, on the iris of each eye. You have to be careful as you don't want to scratch the paint underneath. And if you try this don't cover the enntire eye, just the iris. Go over to the Google search bar and type in "Cornea" and you'll see the "bump" I'm talking about. Also, if you do this DO NOT paint in a little white dot or highlight on the eye. That will destroy the effect.
It's really amazing the effect this has on the eyes. They actually look fluid. The rounded, crystal clear dome catches the light from various sources and the highlight moves as the figure or those sources move. Neat! I used to use a similar technique by putting a drop of nail polish on the little songbirds I used to carve. Everyone thought the eyes were glass but they were just nail polish.
As I've said before, it's the opportunity to try new things that make this craft so enjoyable. I can't wait to do a smaller figure to see if this new technique works as well as it did here.


